When I first was gifted a hand-me-down iPad and Apple Pencil from a friend I of course bought Procreate as soon as I could because that seemed to be the best way to paint on the device. As somebody who generally uses Krita when on an actual PC, it was strange not having the same brushes I was accustomed to using, and after using a lot of the included brushes that came with Procreate I decided to try making my own to suit a bit more of my style.
My brushes are by no means amazing. They don’t have all kinds of wild, custom textures, or realistic paint strokes like some paid for brushes, but for what they are they feel fun to use, for me, at least. I will more than likely update these brushes more over time and add more brushes for particular styles or features I desire. The current version date for this brush set is 08/04/2023.
Alright, now to show and explain how these brushes work.
The name tells exactly what they are. I generally use the square brush for blocking in parts of a picture and the round brush is the exact same brush I use for doing lettering in my comics.
This is just a really basic, round brush. It’s very similar what I remember using back on PaintBBS on oekaki pages back in the day, although this has a bit more control. I generally use this for quick sketches that I plan to work on top of almost immediately.
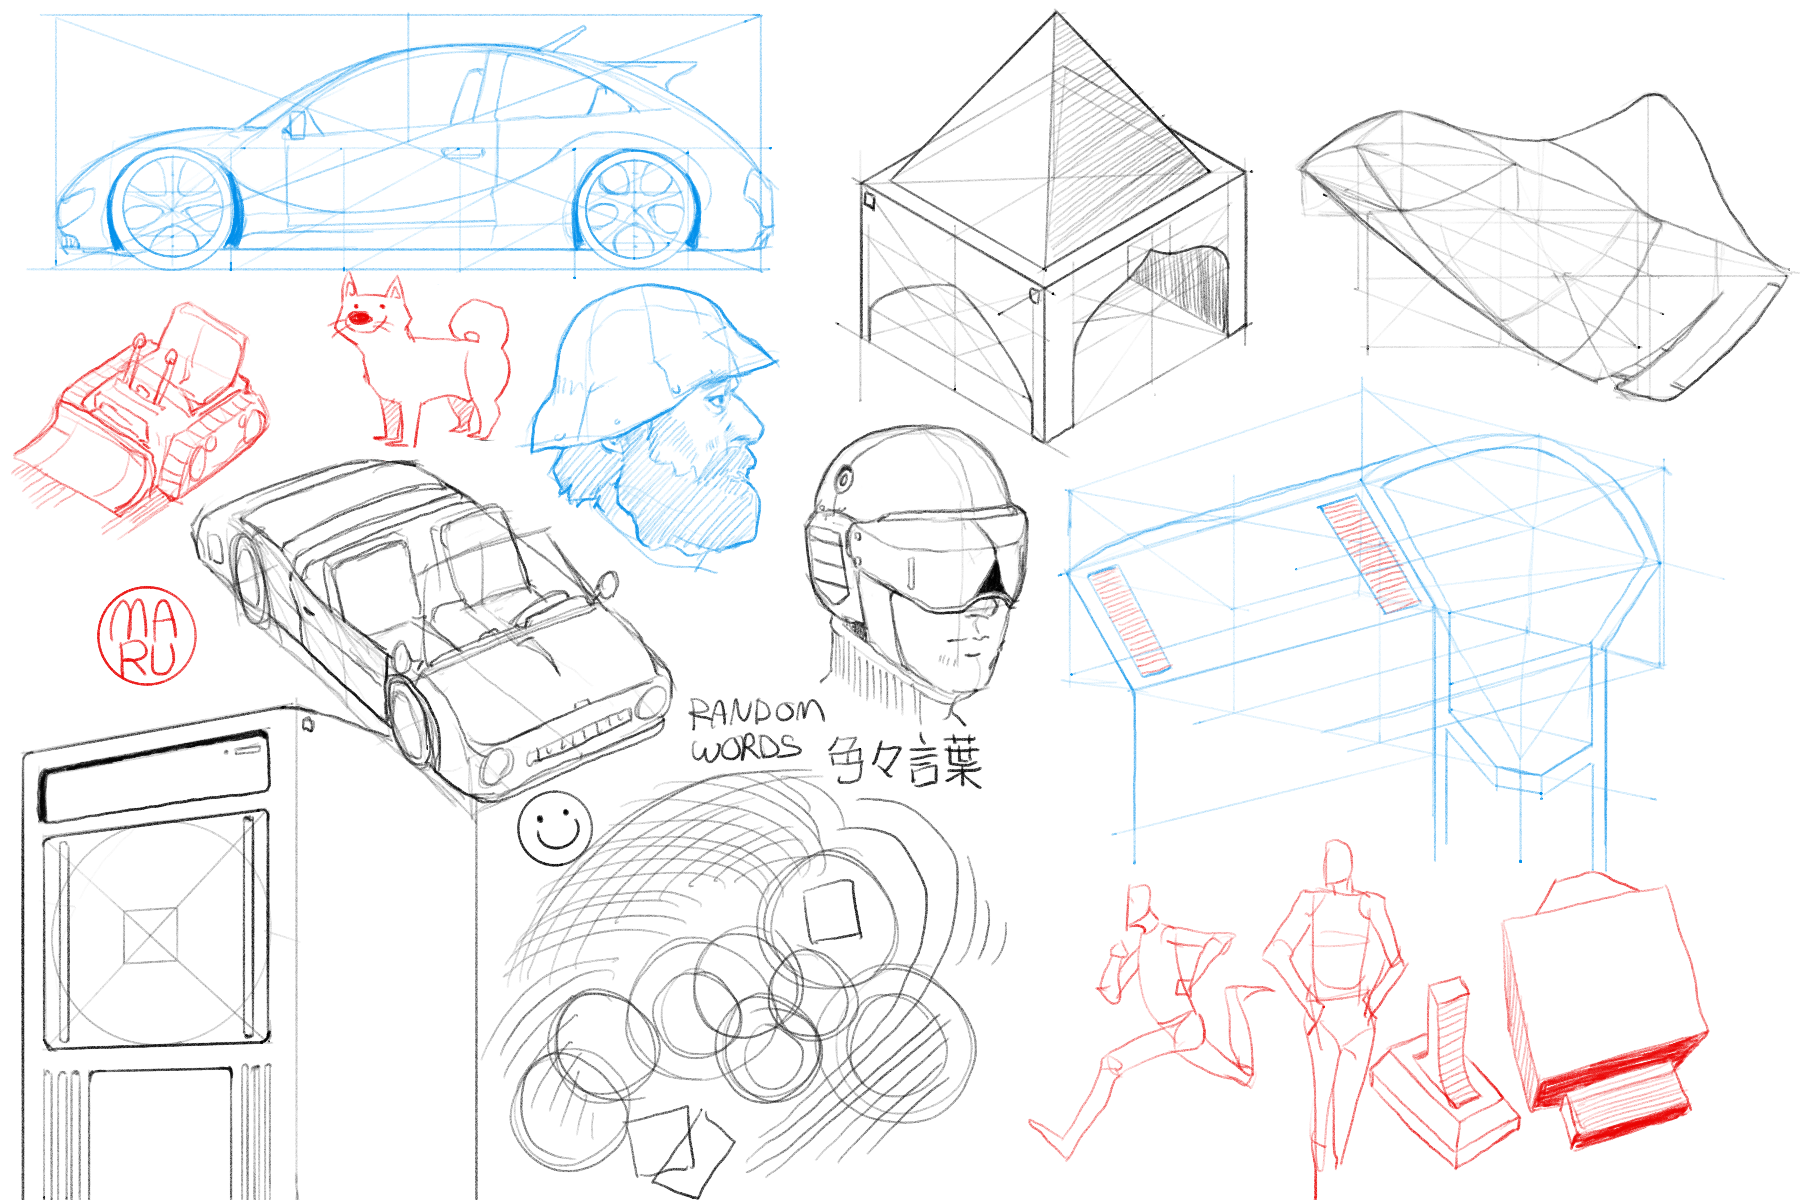
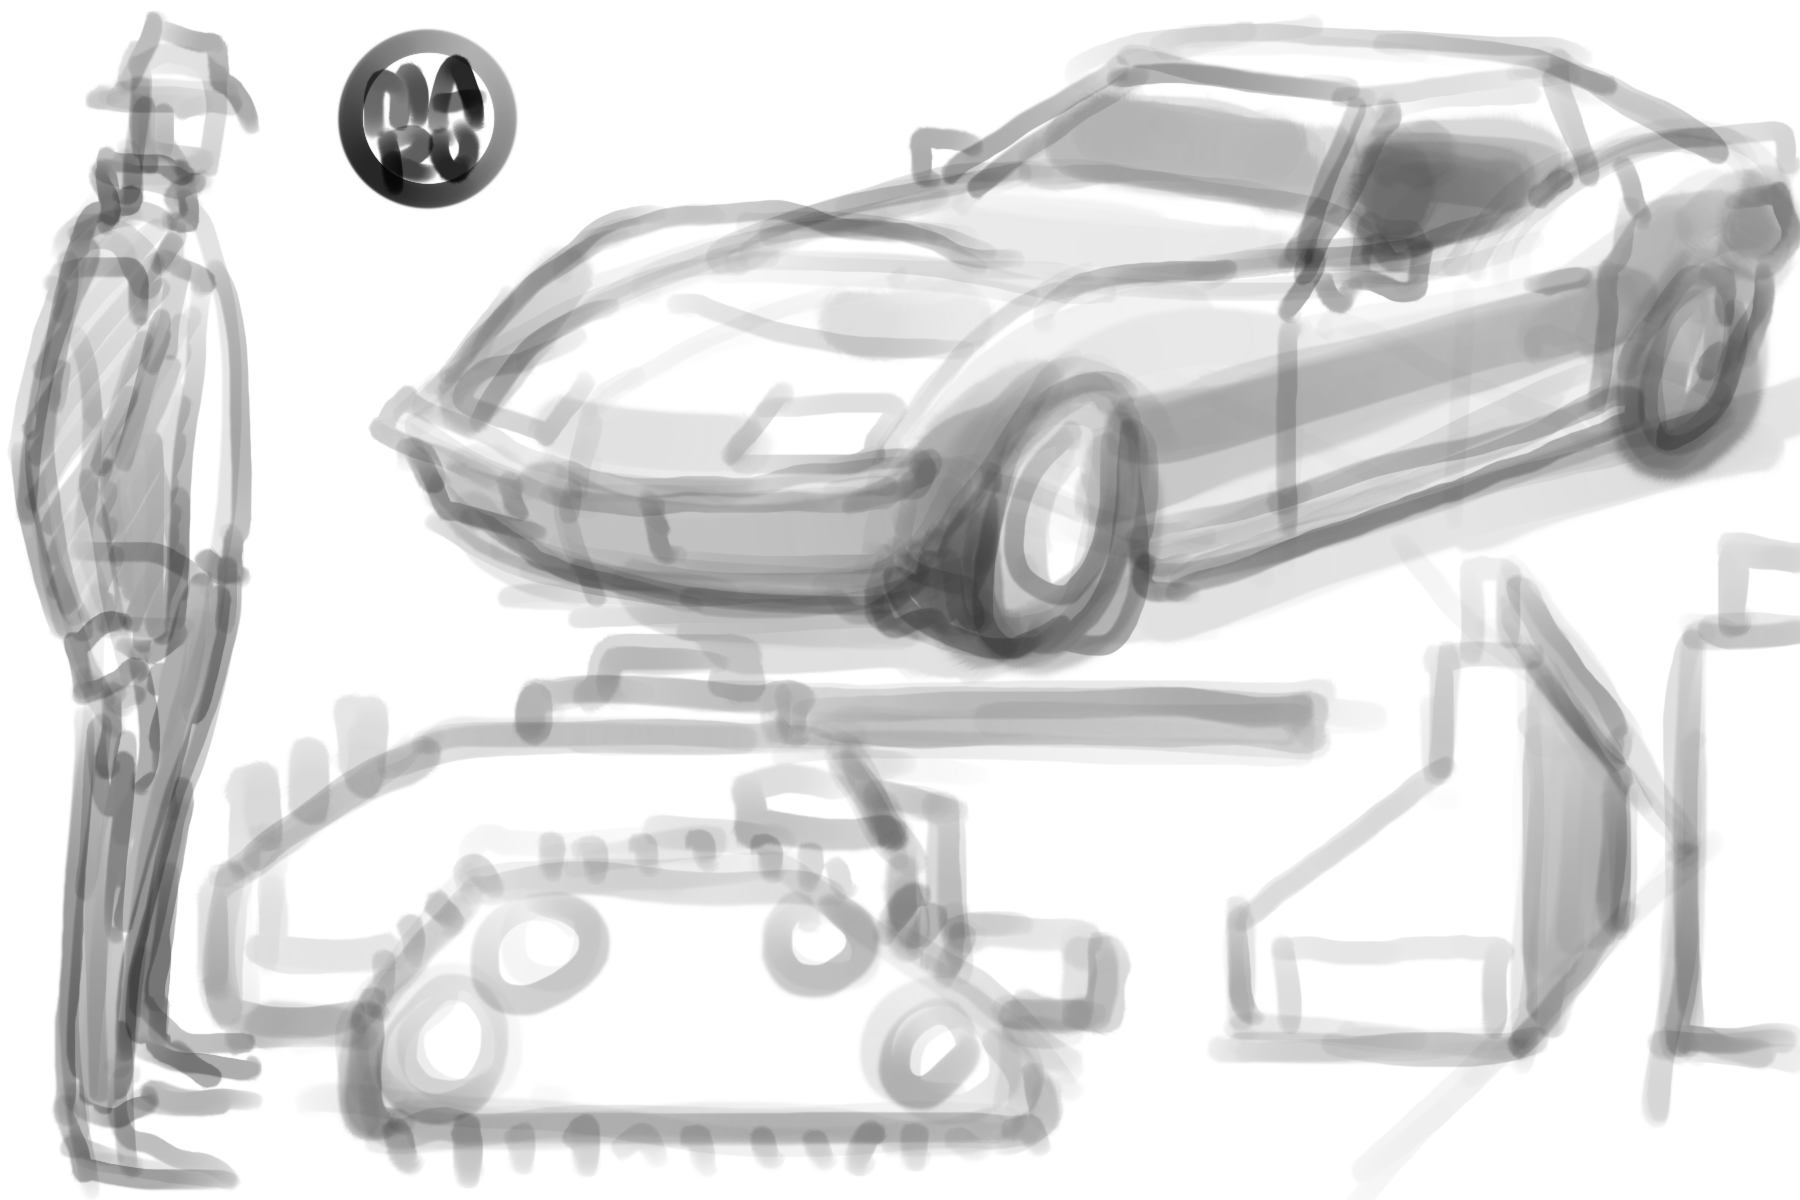
When I do concept designs I like to use a ballpoint pen. One of the ballpoint pens I use the most often is a Zebra F-301. It has a nice glide to it as well the control to make light or dark lines based on how hard you press down. I tried to replicate that same feeling with this brush and it’s very close to the same feel and control.
I didn’t really like the standard sketch pencils in Procreate so I made my own to try making it feel similar to using between a 2B and 8B pencil. If you change the opacity it feels very similar to using even lower grades of lead. If you use the same brush as a smudge tool it’s similar to when you brush over pencil with your finger to blend it.
These two brushes are by far my favorite brushes. They function very much like pastel sticks if you could brush them around like paint. If you look through a lot of my artwork you’ll notice I use this brush in a lot of places just to give a soft look. Using it as a smudge brush will also give a similar effect to pushing it around with your fingers, but I personally prefer to keep the graininess of it.
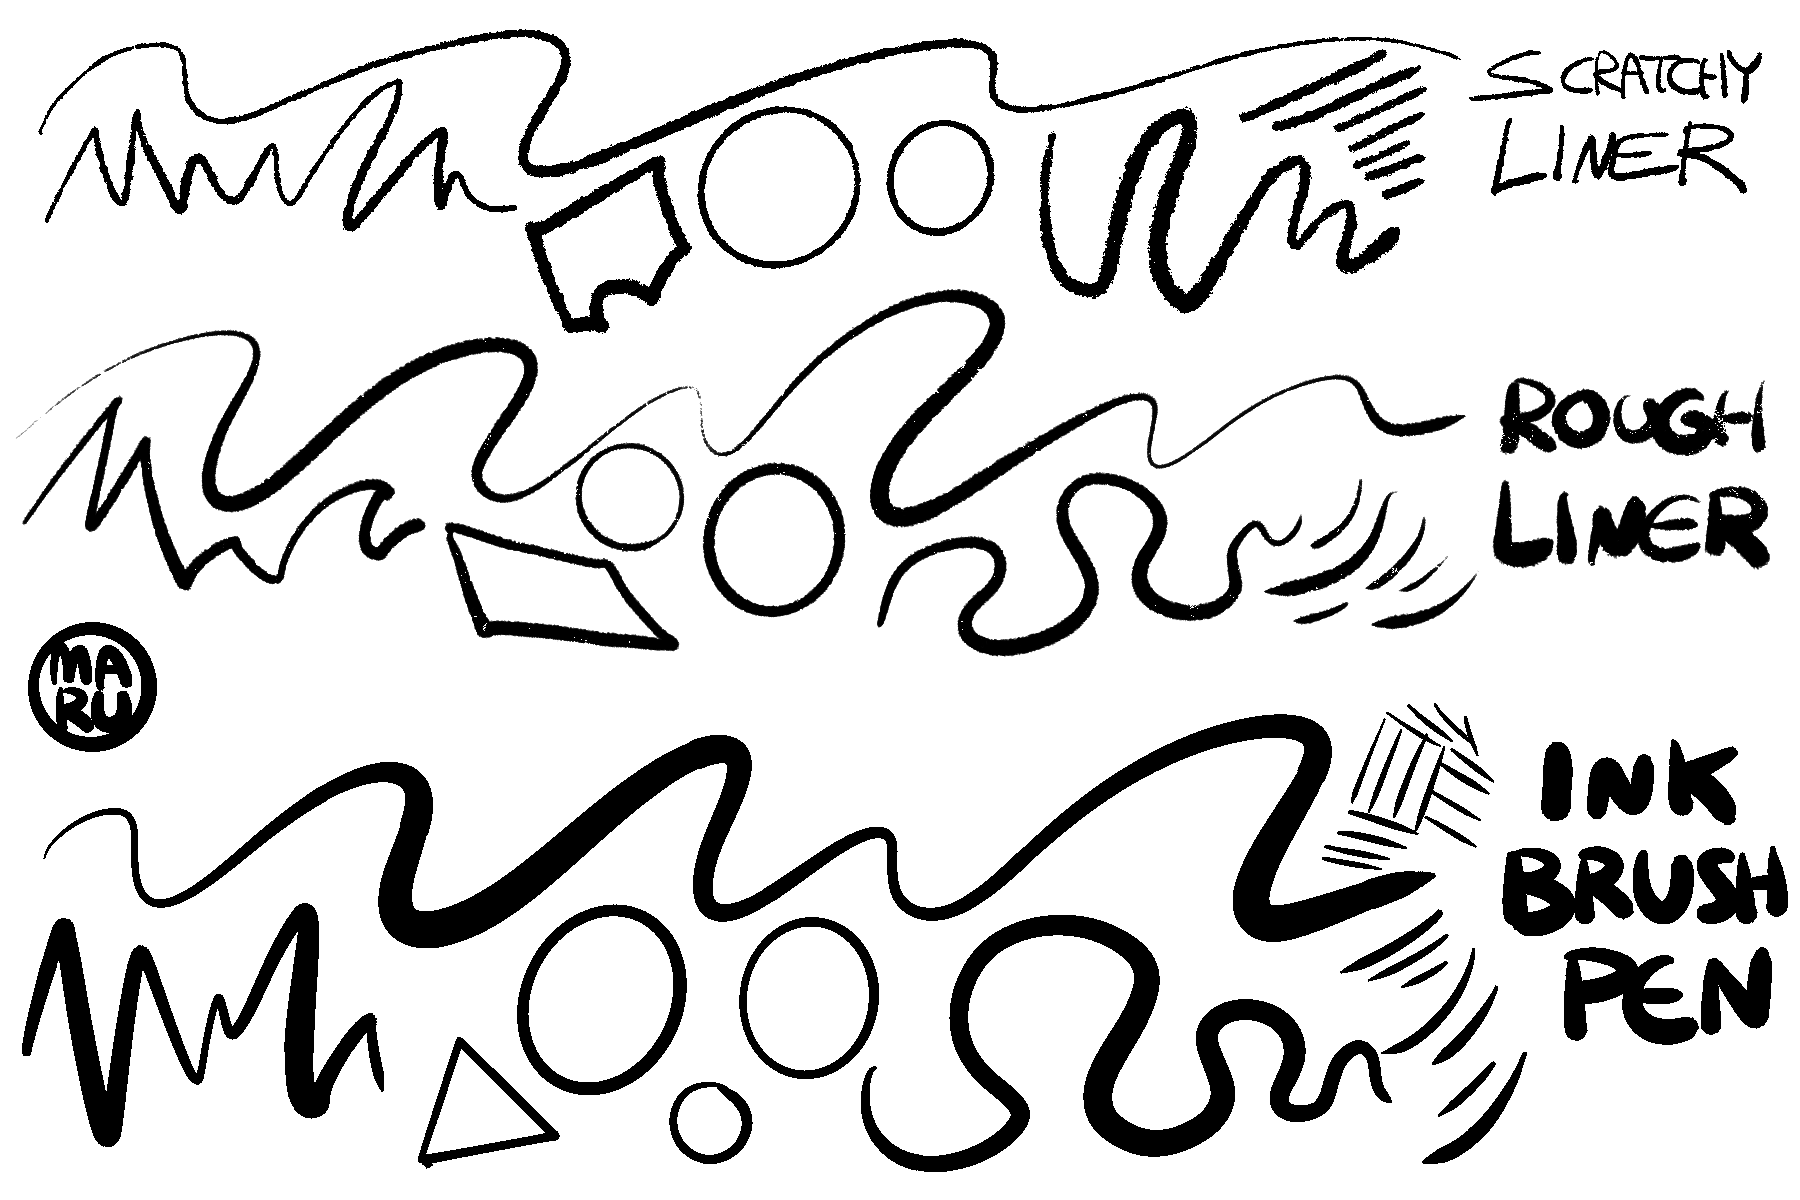
These are the liners I’ve made and use the most. The scratchy liner in particular is great for getting that retro, mid century look on artwork. The ink brush pen is what I use for inking comics.
Have you ever used a Sakura Micron ink brush pen and then it started to dry up giving you some great, soft ink strokes? That’s exactly what I tried to mimic with this brush.
I don’t normally use this brush by itself like the examples shown, yet instead I use it to make base values and shapes that I can draw on top of using the ballpoint pen brush. It’s a technique I learned from the books by
Scott Robertson.
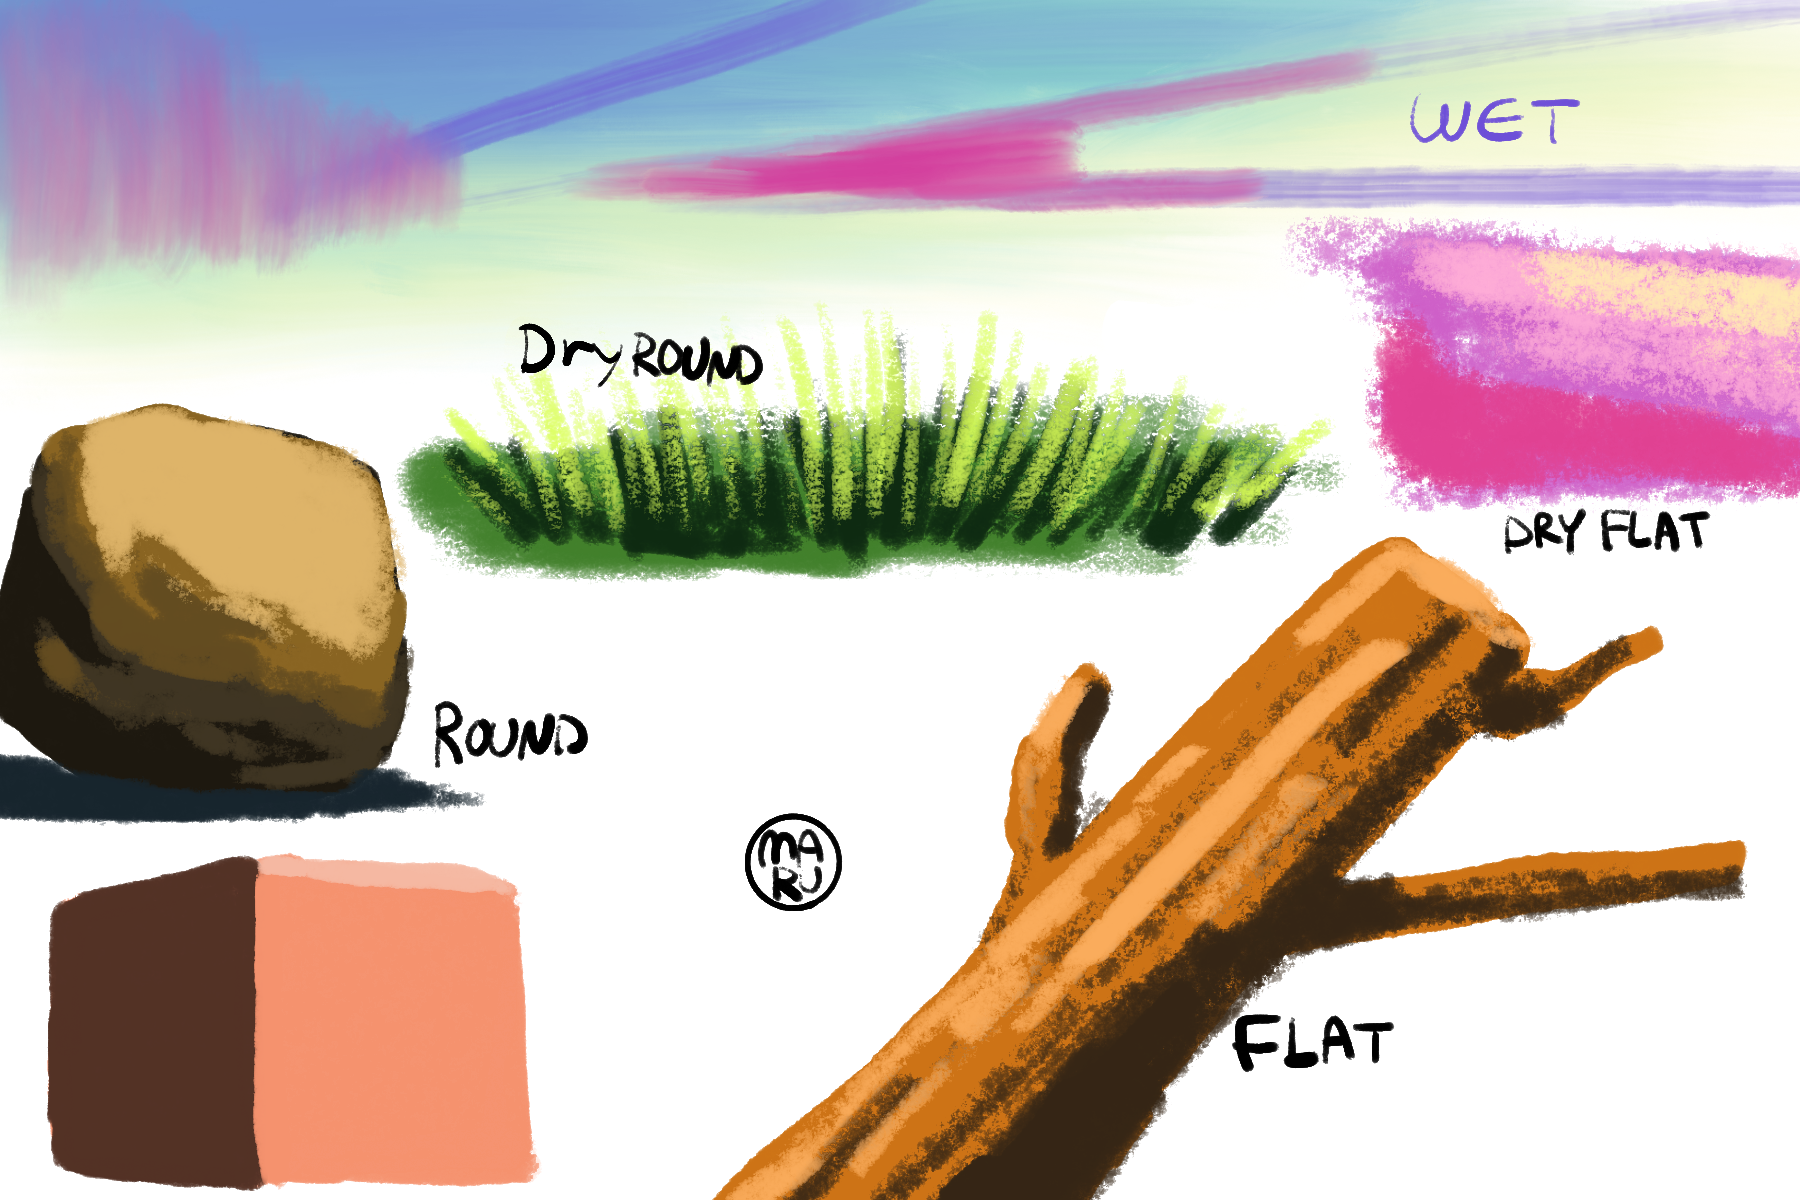
I tried to make gouache brushes to mimic the style used in a lot of vintage advertising and cartoon artwork. The wet brush will smear paint around in a similar manner to using oil, but not quite as messy feeling. The regular round and flat brushes paint very thickly, yet if you lower the opacity it lets more of the texture bleed through giving a somewhat less loaded paint brush.
The dry brushes will behave very similarly to the regular brushes, but they will give a much more dry look to the strokes, which is great when you want to make subtle, streaky highlights in a painting or add rough texture to an object.
You’re probably wondering why there are two types of gouache in this brush set. This one is entirely flat. There is no blending texture in it at all. It’ll give you that same look you see on breakfast mascot drawings that use almost no colors but will print really cleanly while still having texture.
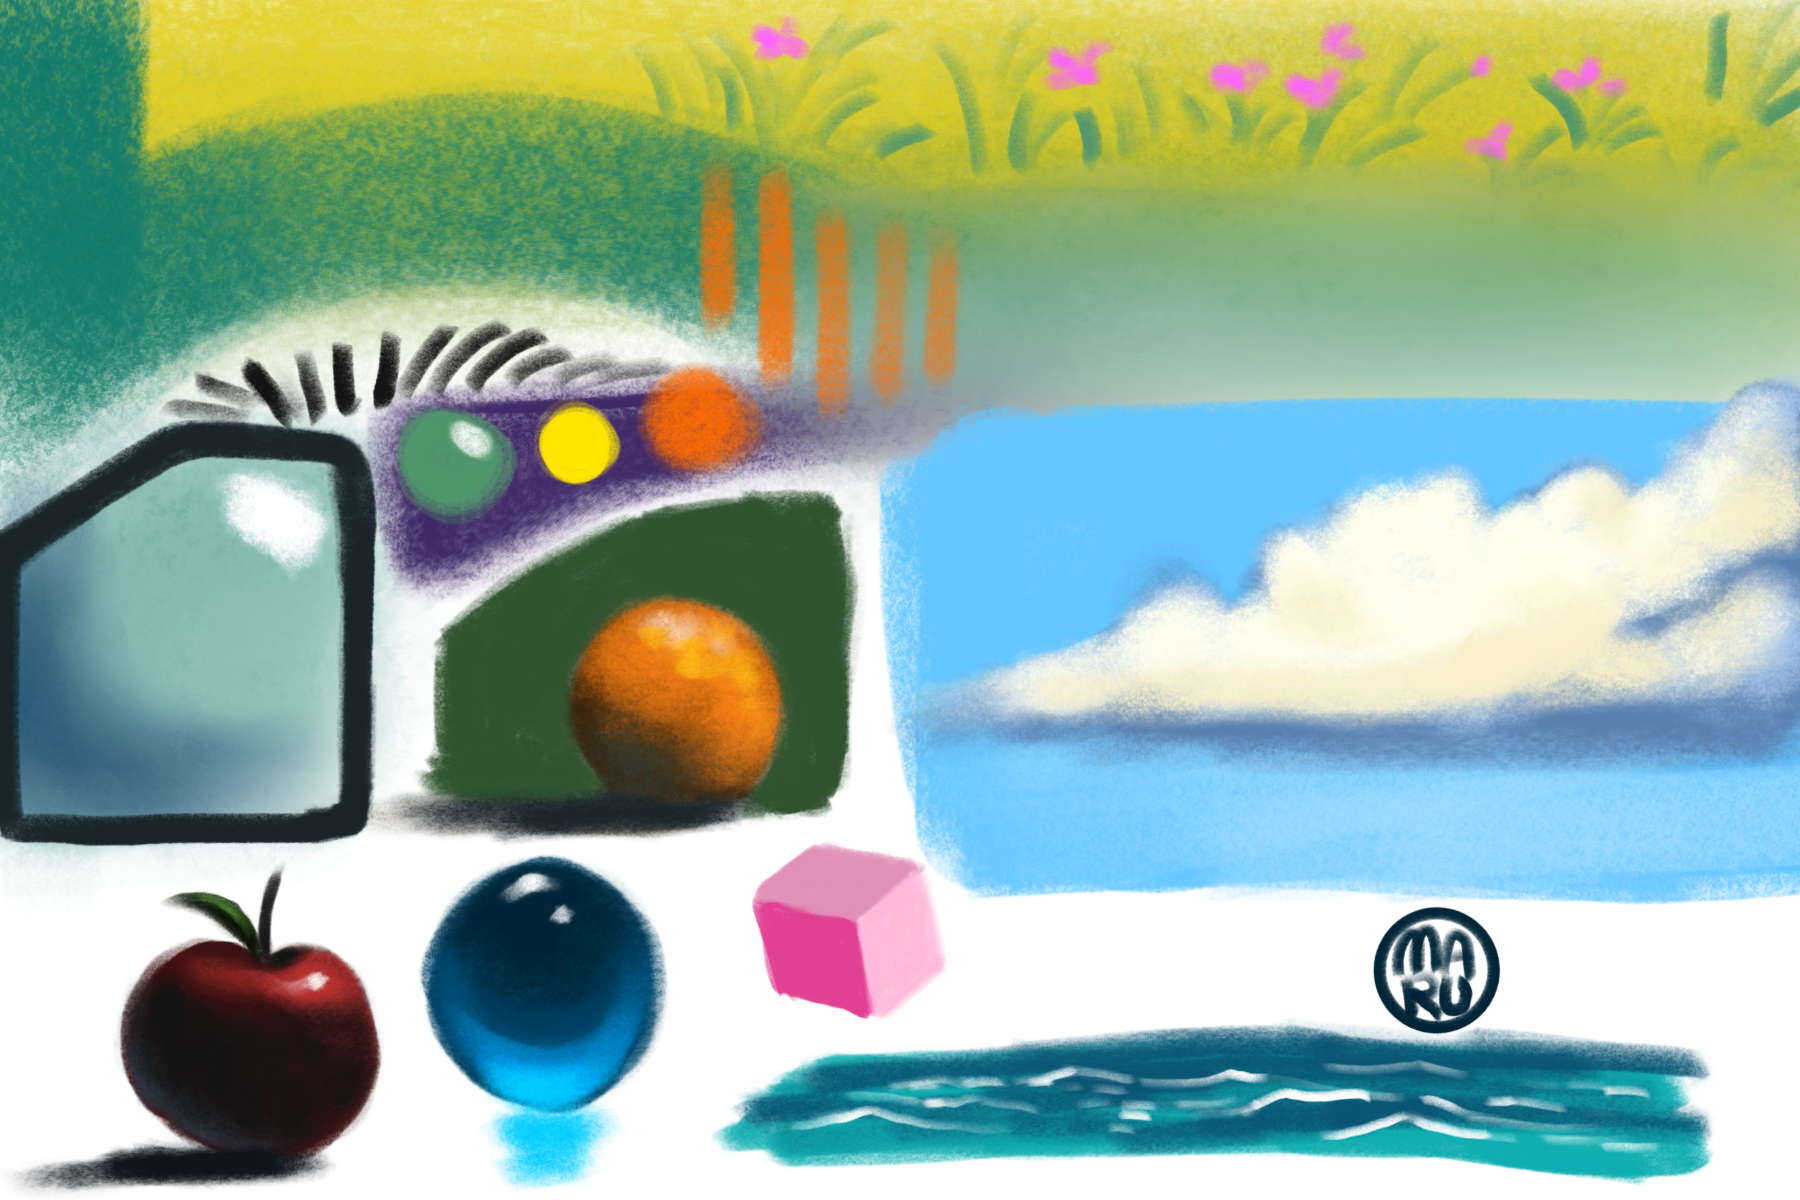
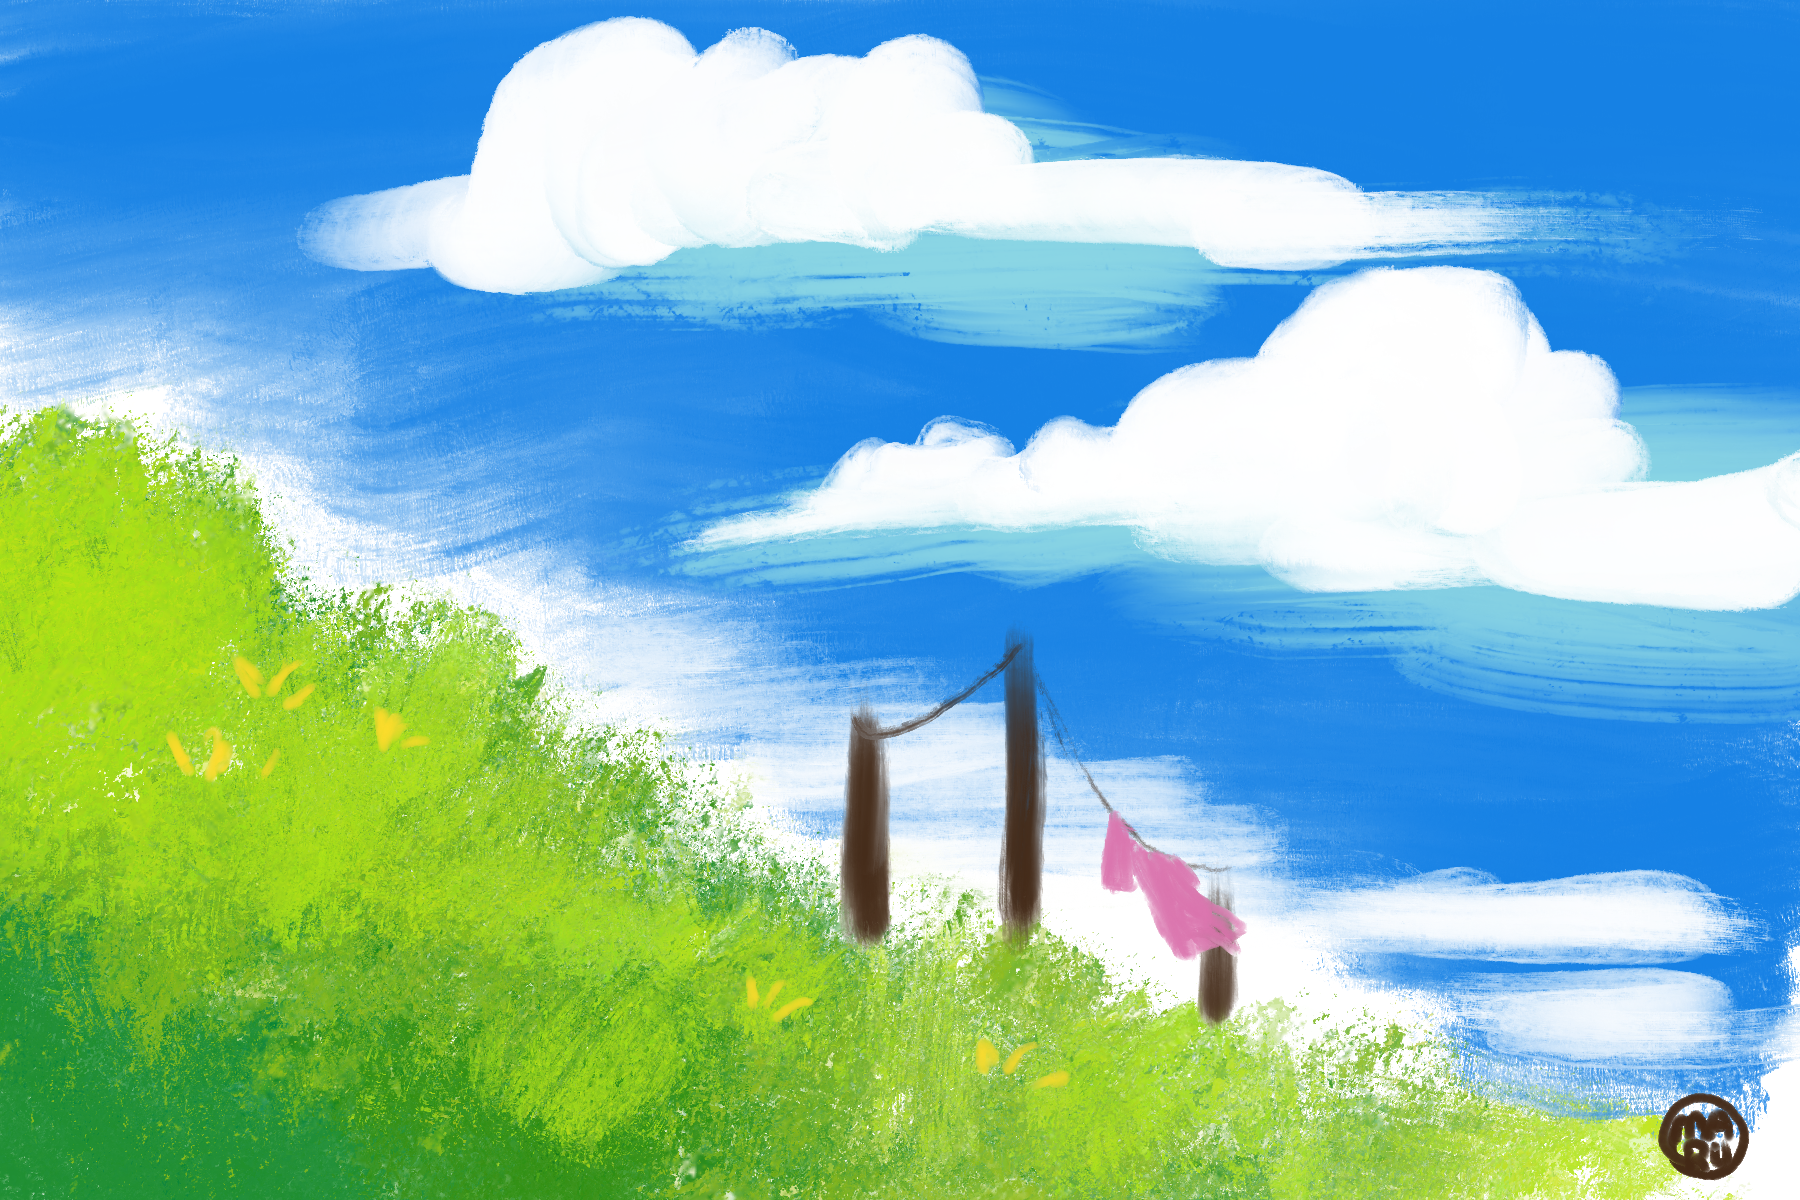
These are by no means the best oil painting brushes you can get, but they get the job done. The round and flat brushes will function similarly to a real oil painting brush, especially if you lower the opacity to make it feel thinner. The dry brush version is basically the same thing except it doesn’t hold as much paint. The background and clouds were made using these.
The messy flat brush and dirty, old sponge are the best if you want to lay down a large area of texture in a painting. The sponge was used to make the grass in the example.
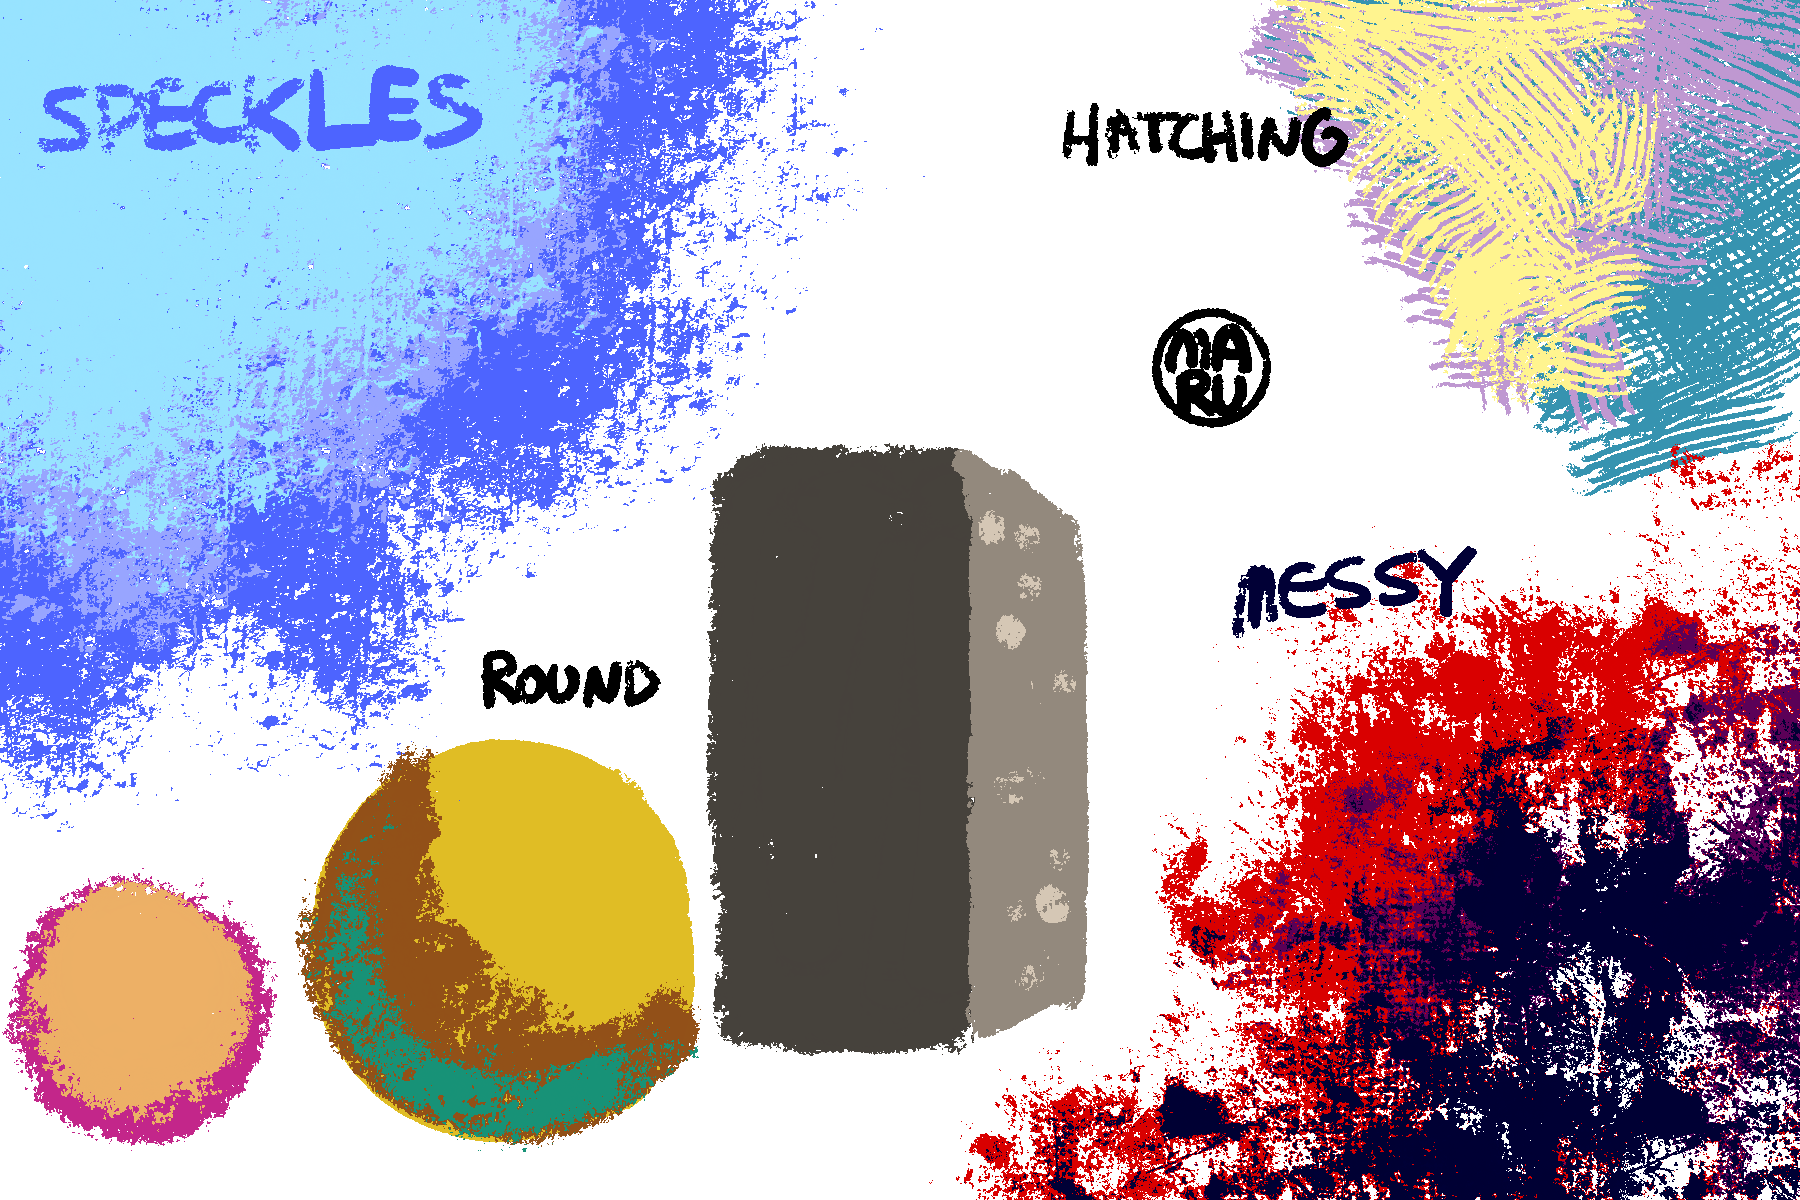
I made two blenders for oil. The first one will push paint around and give it a bit of a canvas texture. I would say it works better at a small size, such as blending in highlights. The large soft, round, blender is similar to using an oval mop brush to gently blend paint.
There you go, that’s my brush set. There are a few other brushes in the set such as the noise brush(self-explanatory brush), the texture brush because Procreate still doesn’t have a way to flood fill a texture in it unlike Krita, and the few shape brushes in the set. Just play around with the shape brushes, especially as smudge blenders. They can give interesting texture to a painting.
You can download this brush set from the itch.io page
Maru Brushes